Enabling Developer Mode in Chrome gives users advanced control over their browser extensions. This feature is particularly valuable for developers testing their custom extensions or users exploring experimental tools.
If you are a developer, by enabling the developer mode in Chrome, you can unlock options like installing extensions manually (loading unpacked extensions), viewing error logs, and packing extensions into installation files.
In this article, we will guide you on how to enable Chrome extensions developer mode in a few steps.
How to enable Developer mode in Chrome extensions
Step 1: Launch the Google Chrome browser on your laptop or PC.
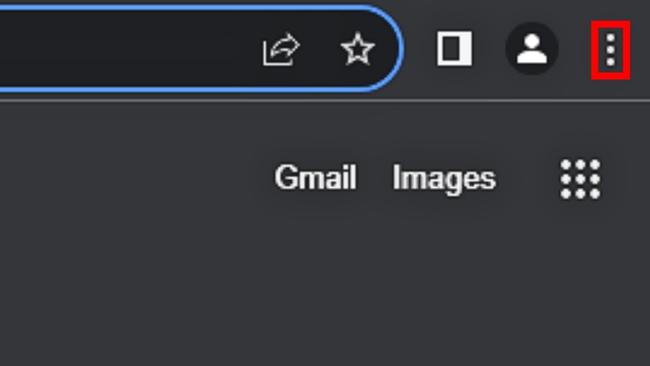
Step 2: Click the three-dot menu icon in the top-right corner.
Step 3: Select “Manage Extensions” under the Extensions menu.

The Manage Extensions page displays all installed extensions. Here, you can enable or disable them, remove them, or manage their settings.
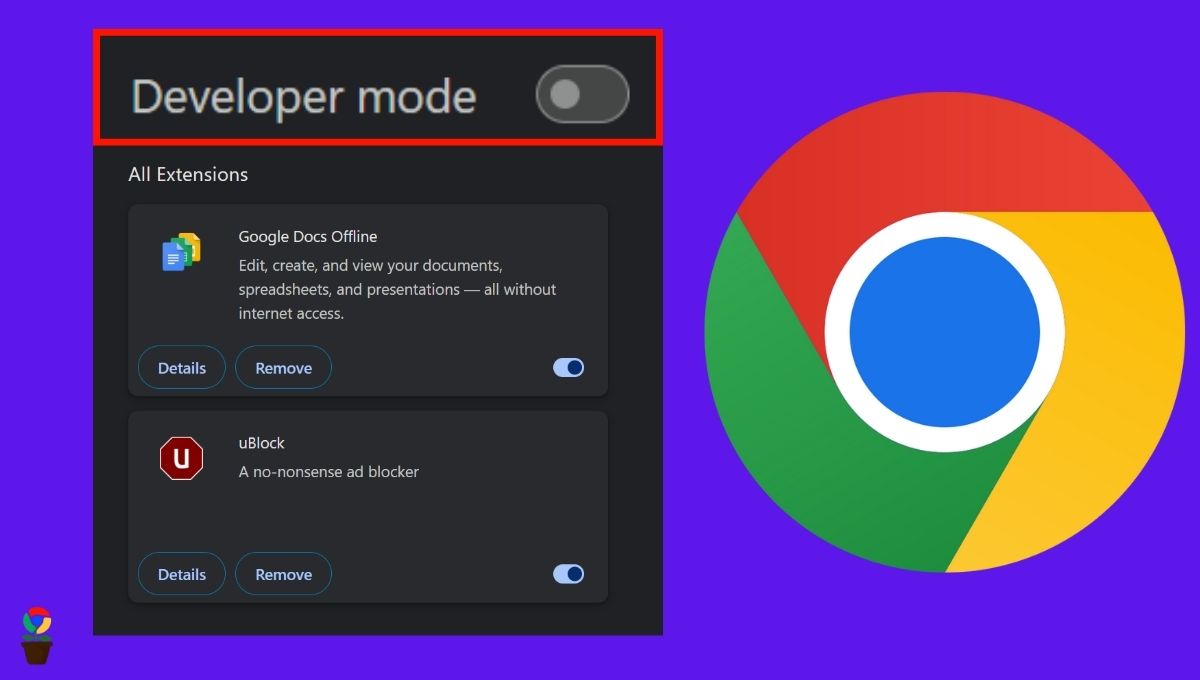
Step 4: Toggle-on the Developer Mode switch at the top-right corner of the Manage Extensions page.

Once toggled-on, the developer mode for extension will be enabled in your Chrome browser. You’ll now be able to manually install custom extensions and update them.
How to turn on Developer mode for extensions in Chrome
Step 1. Open the Chrome browser on your desktop or laptop.
Step 2. Type “chrome://extensions/” into the address bar at the top and press Enter.
Step 3. Click the toggle-on switch in the top-right corner to turn on the Developer mode for extensions.
0Chandramohan Rajput is the Senior Editor of Extension Garden, where he has been covering Chrome extensions, tech news, and in-depth how-tos since 2019. When he's not exploring new tech, you can find him playing cricket or immersed in Counter-Strike 2.

