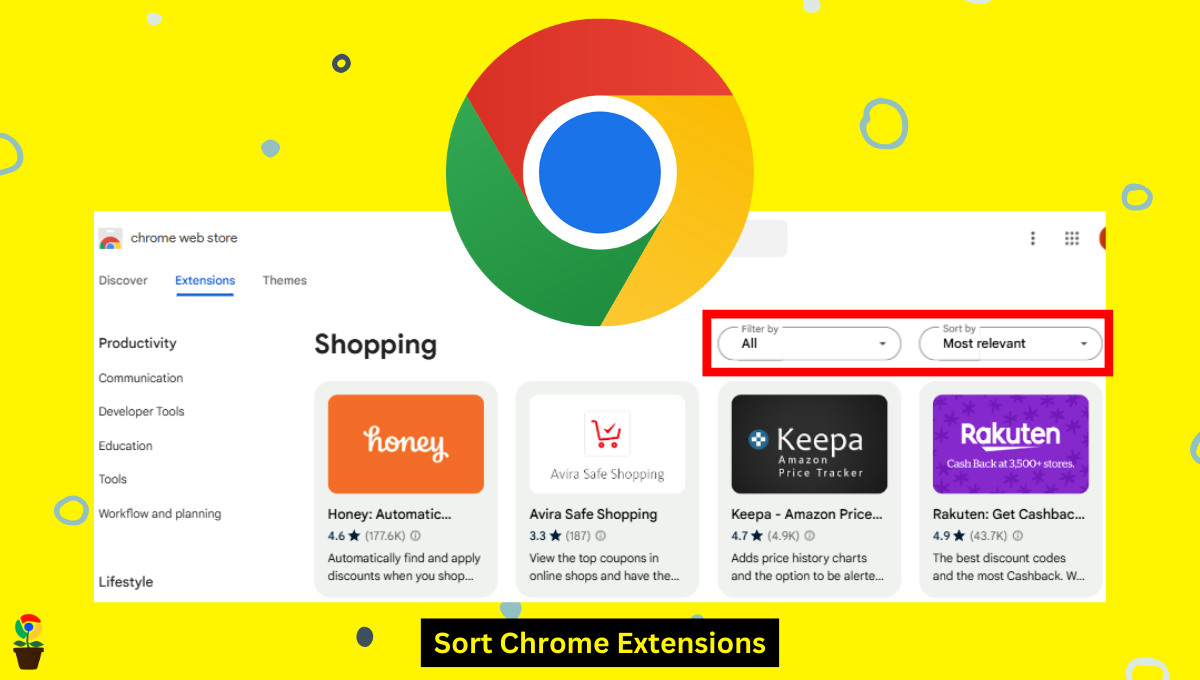
Google Chrome has the most significant number of extensions compared to other browsers on the internet. There are many categories available on Chrome Web Store from which you can download an extension as per your needs.
For example, if you are a student, you can install productivity extensions like Grammarly, Quillbot, etc. Similarly, if you are a programmer who loves coding, you can download developer tools.
However, most new or non-techie Chrome users are unaware of this and unable to take advantage of these useful extensions. Don’t worry; we’ve got a step-by-step guide here that will show you how to download and install an extension on Chrome.
Doesn’t matter whether you use a Windows PC, Mac, or Chromebook, you’ll be able to install extensions in Google Chrome with a few steps.
Table of Contents
ToggleWays to install extensions in Google Chrome
There are two ways to install extensions in Chrome — Web Store and Manually. You can install a Chrome extension online by visiting the official Chrome Web Store page. On the other hand, if you have an extension already downloaded on your computer, you can install it directly by loading an unpacked version.
1. How to install an extension in Chrome via Web Store
You can install an extension in Chrome via the Web Store, which is Google’s official extension store. Here’s the step-by-step procedure to install an extension in Chrome via the Web Store:
Step 1: Launch the Google Chrome on your Windows PC, Mac, or Chromebook.
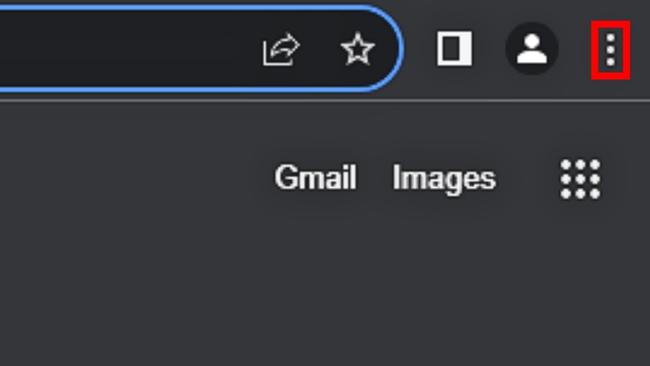
Step 2: Click the three dots in the top right corner.
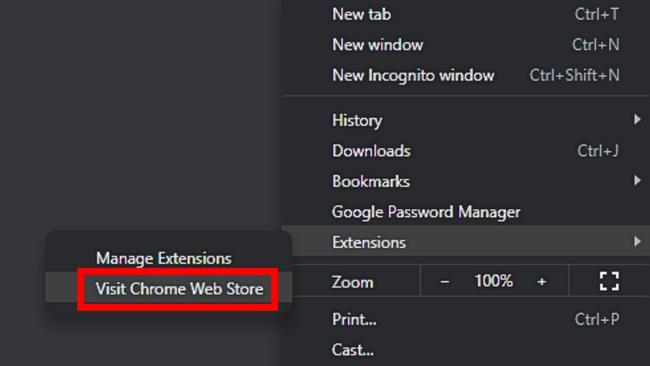
Step 3: From the drop-down menu, head to ‘Extensions‘ and select ‘Visit Chrome Web Store‘.
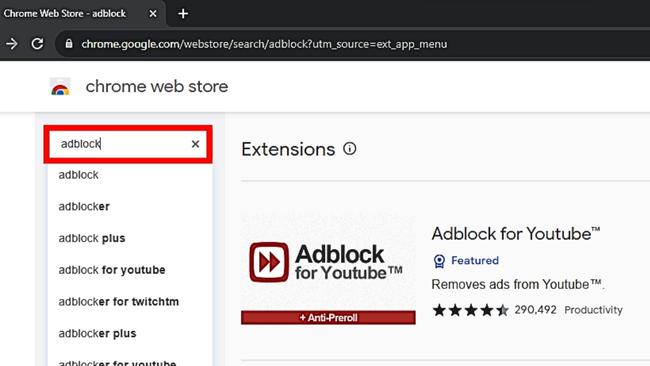
Step 4: Search for the extension and click on it once found.
Step 5: Click on ‘Add to Chrome‘.
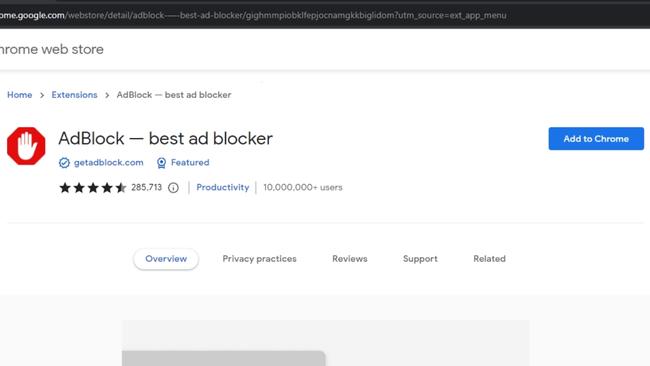
Step 6: Now again, click on ‘Add extension‘ from the popup window.
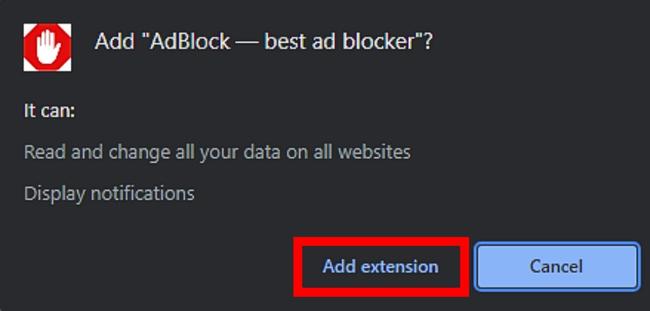
Your extension will now begin downloading and installing in Chrome. You can also see if the extension is installed or not by going to Chrome’s ‘Manage Extension‘ option.
2. How to install extensions in Chrome manually
If you are out of the internet or you already have the extension stored locally on your computer, you can install it manually in your Chrome browser while offline. To install extensions in Chrome manually, follow the below steps:
Step 1: Open Google Chrome on your desktop PC.
Step 2: Click on the three dots from the top right corner.
Step 3: Go to ‘Extensions‘ and click on ‘Manage Extension‘ from the sub-menu.
Step 4: Now, enable the developer mode by clicking on the ‘toggle button‘.
This will reveal some extra options related to Chrome extensions.
Step 5: Once enabled, click on ‘Load unpacked‘ and select the folder where you’ve stored the extension files.
Your extensions will now be added to your Chrome browser. You can check it by clicking on the puzzled icon from the top bar.
0Chandramohan Rajput is the Senior Editor of Extension Garden, where he has been covering Chrome extensions, tech news, and in-depth how-tos since 2019. When he's not exploring new tech, you can find him playing cricket or immersed in Counter-Strike 2.


